
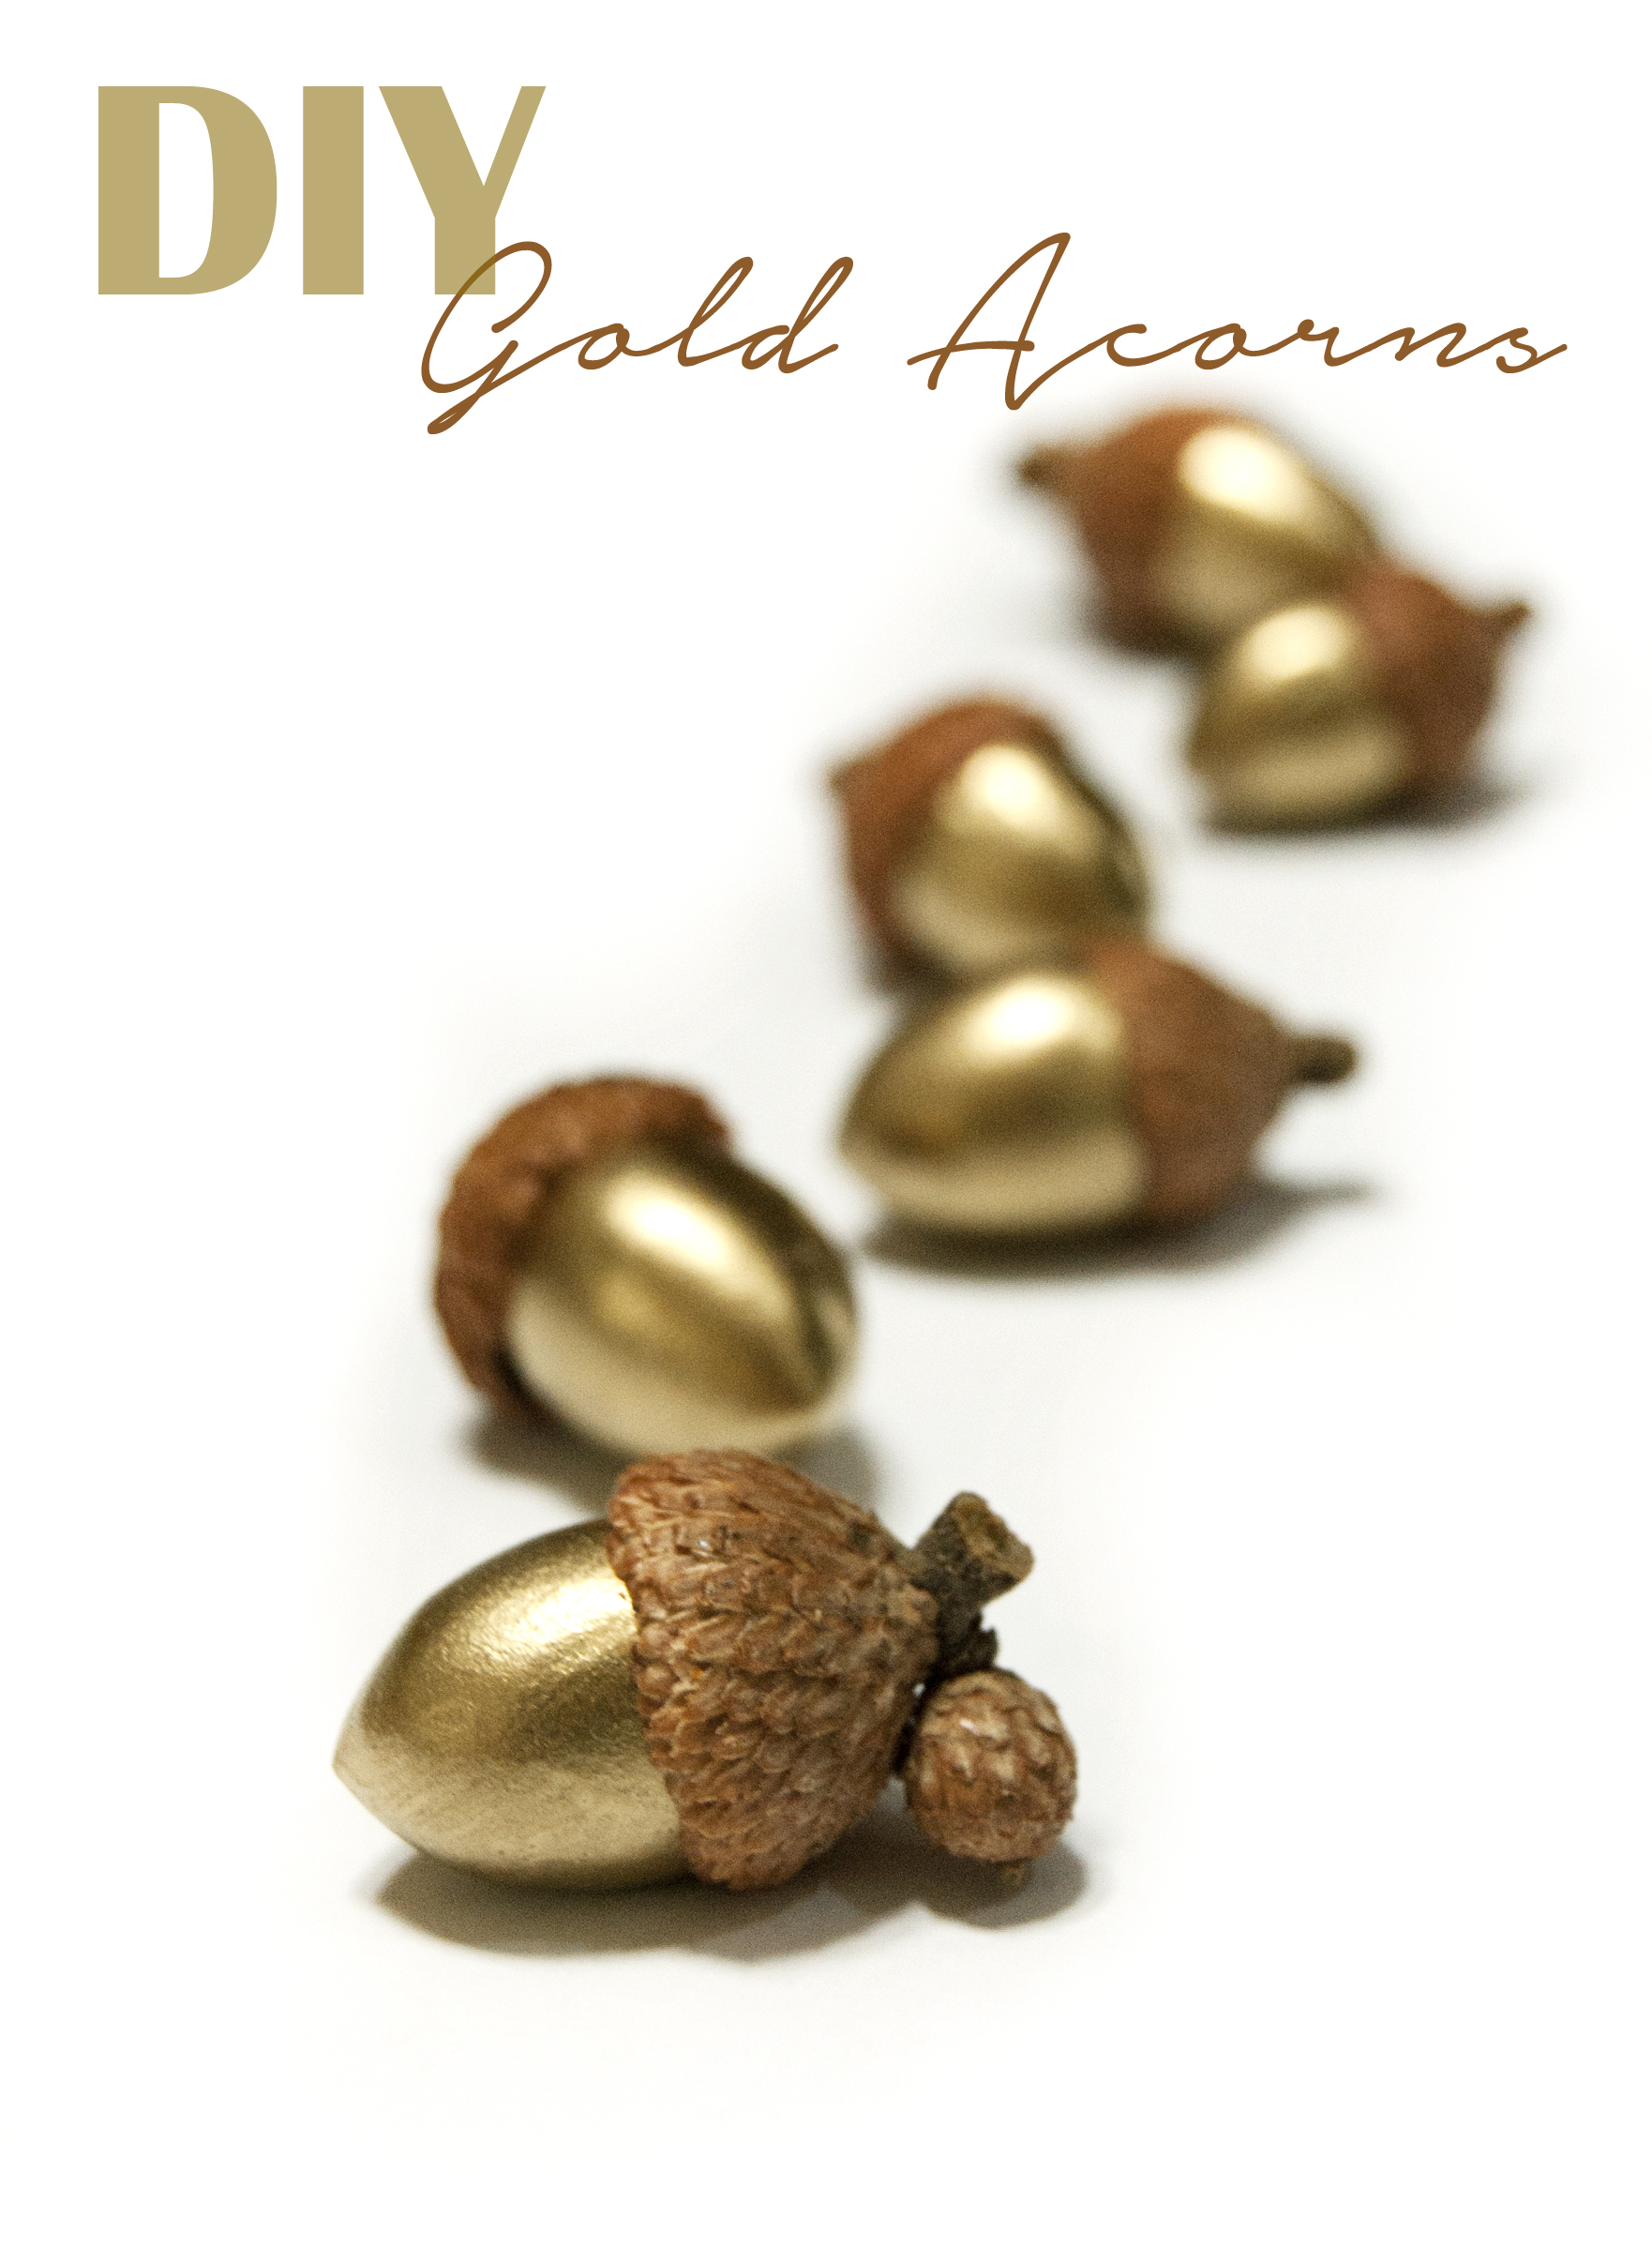
Here in the Bay Area we’ve been experiencing disgustingly hot weather almost every day for weeks. I took advantage of the first day with temperatures in the 70s to cross my fingers that Fall might finally be on the way, and tackled a quick and easy craft project – gold leaf painted acorns!
For this project you’ll need:
- Gold Leaf Paint (I bought mine at Michael’s craft store.)
- Small paintbrush (foam ones work best, though I didn’t have any on hand and used a soft bristled brush.)
- Acorn caps
- Acorn nuts – either acorn nuts already attached .. or able to be re-attached to the caps, or polymer clay to make your own acorn nuts.
- Protective gloves
- Respirator mask (strongly recommended! The gold leaf paint is pretty potent, and even the bottle label is loaded with warnings about adequate ventilation.)
- Something to cover your work surface, preferably plastic wrap or aluminum foil.
- Glue (to make sure your acorn nuts stay attached to the caps. I used two part epoxy because that’s what I had handy.)
This project is so easy that it probably doesn’t even need visuals, but if you’re anything like me, photos are always encouraged!
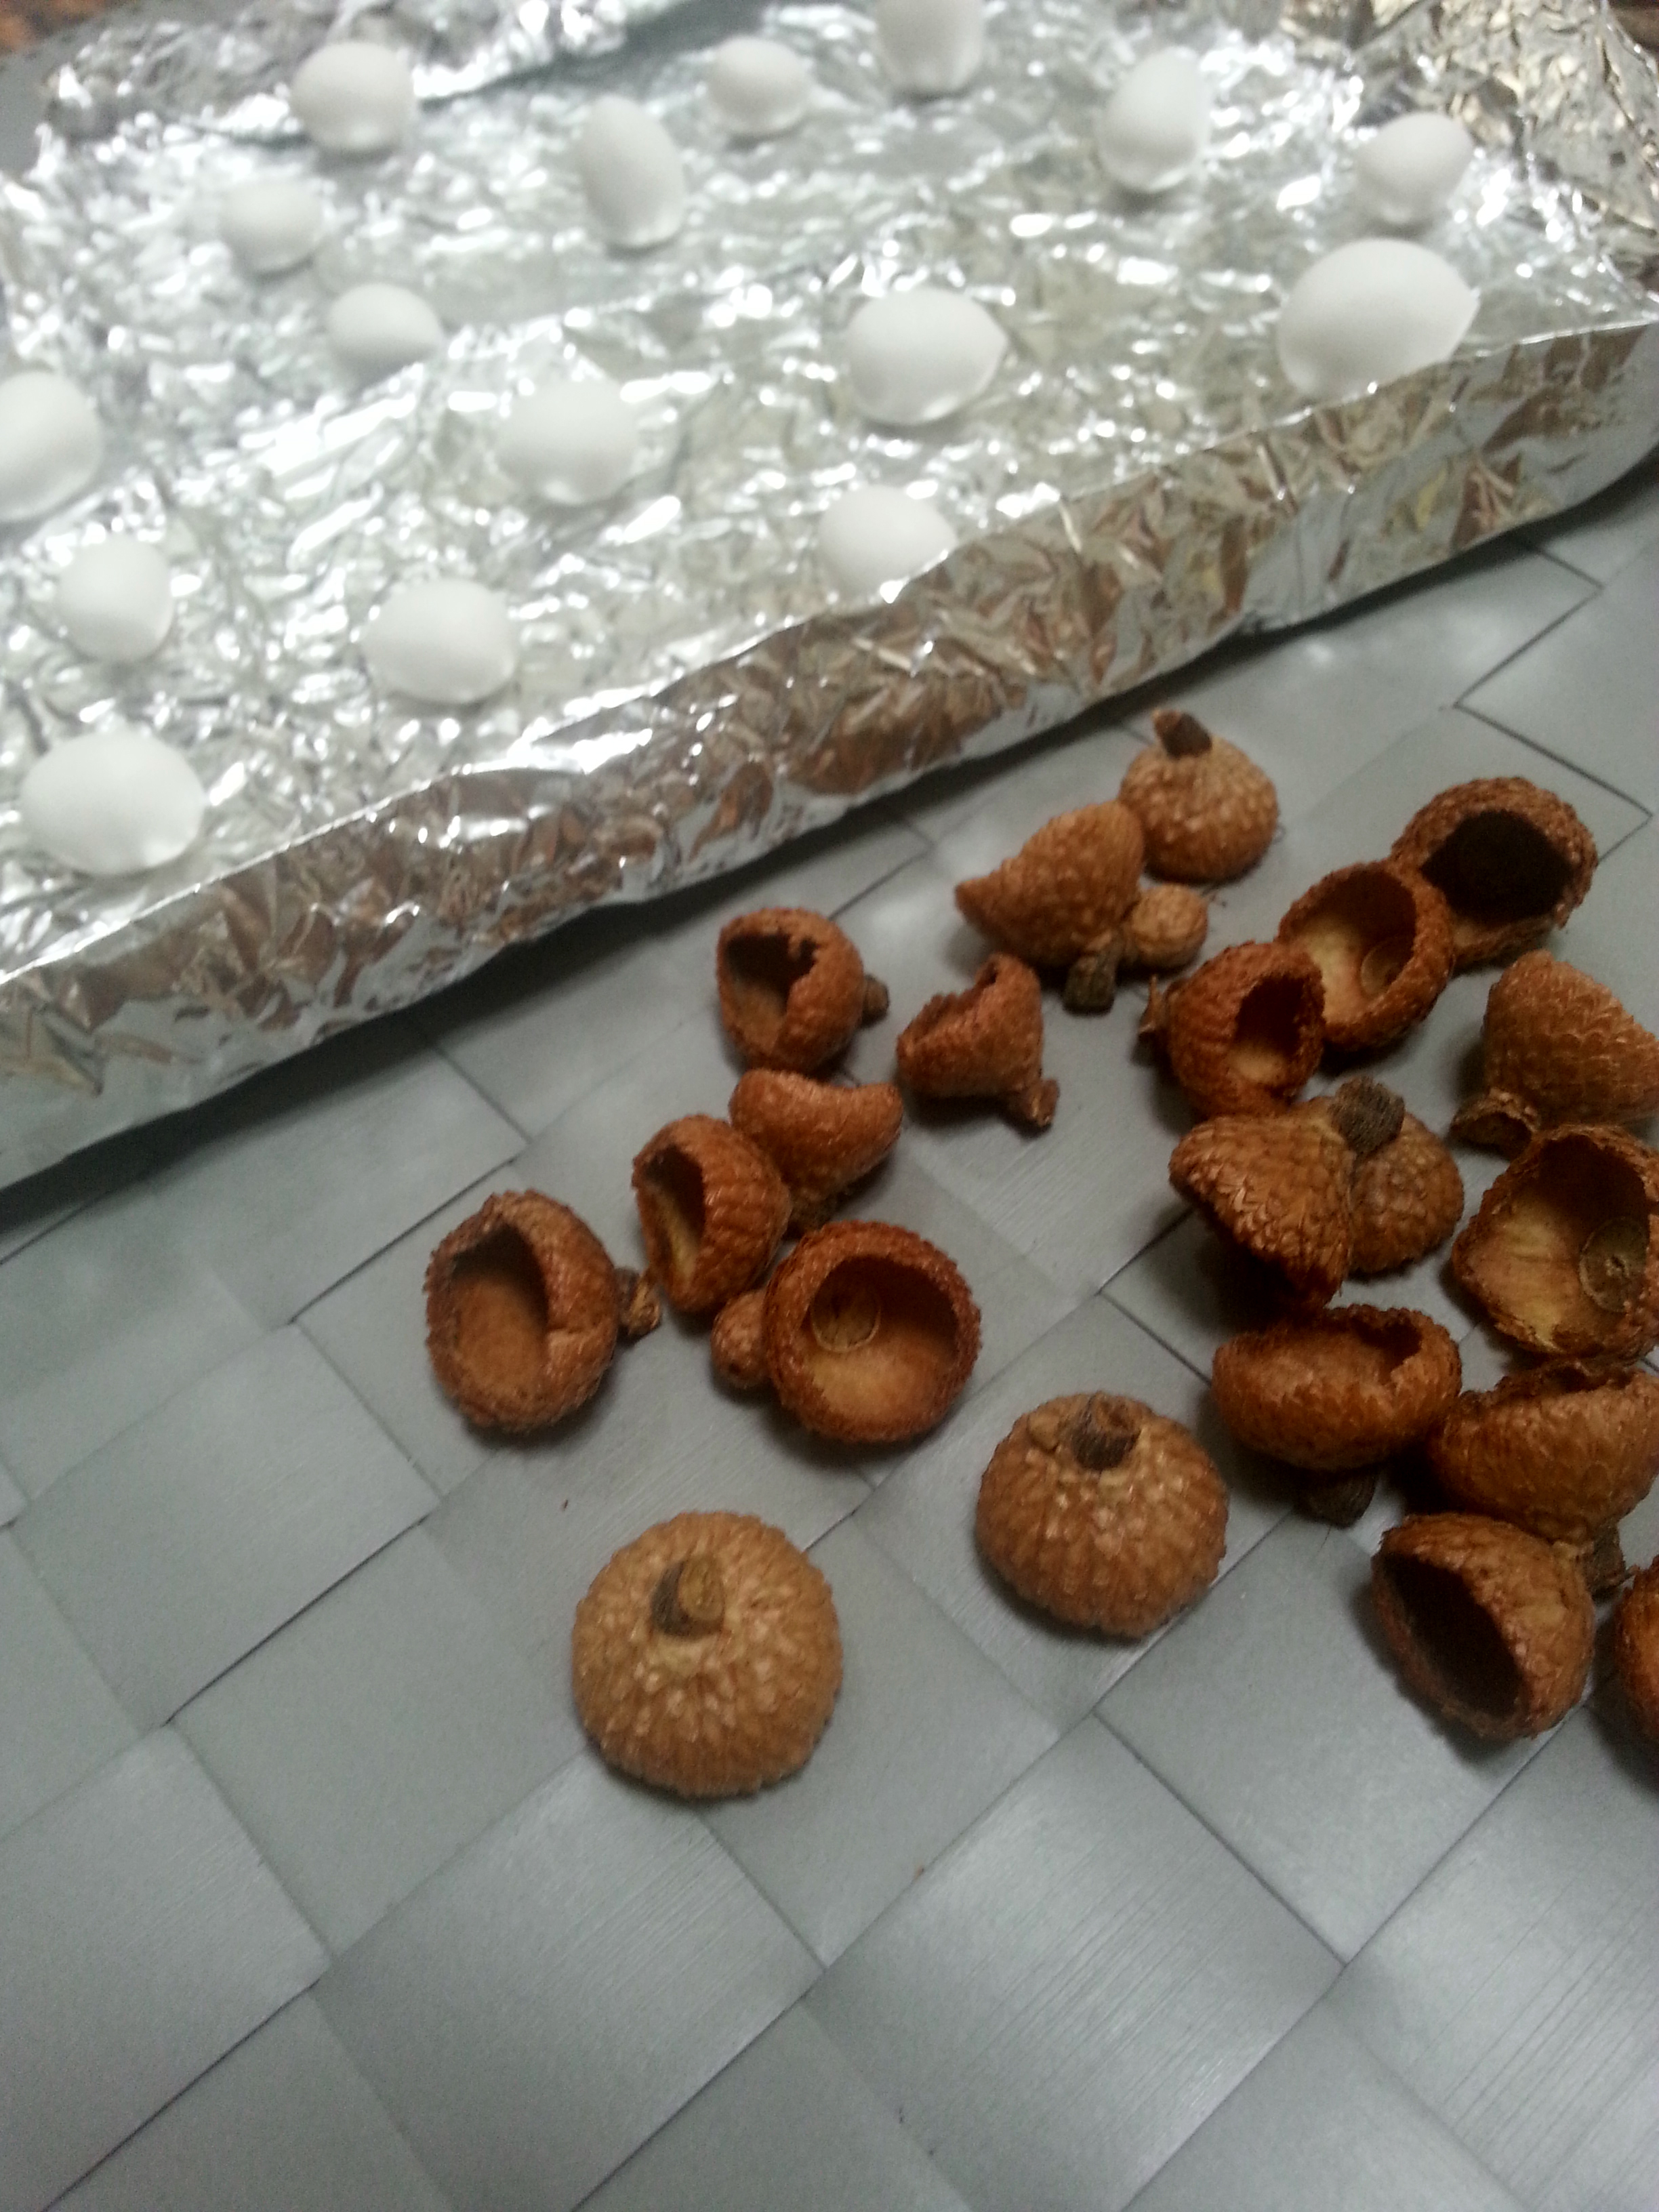 If you already have acorns with the cap and the nut attached, you can skip this part. The first thing I did was to make faux acorn nuts with polymer clay, as I’d only collected these cute little caps while out for a walk.
I used the Sculpey “lightweight” clay since it’s really soft easy to mold for this type of project. I baked the clay acorns according to the package directions and let them cool before moving forward.
 Once cooled, I fitted a clay nut to each cap, to make sure I had a match for each one. They’re pretty cute as is, aren’t they? I debated leaving some white, but I can always make more later if I feel the need to change up the decor.

Once I’d matched the nuts to the caps, I separated them – but kept the nut close to each cap – and then I got to work painting! I found it was easiest to start at the bottom of the clay nut, and then sort of “stick” it to the plastic while I painted the rest of it – from the bottom/widest part up towards the small point at the top. You can see here why the gloves are necessary for this! Some of them required a second coat/touch up after the first layer was dry.
If you have real acorns, make sure you’ve properly dried them out before using them for any craft projects. Acorns fresh off the ground will get moldy, and could also be harboring insects.

Here’s the group of painted clay acorns drying! They dry fairly quickly in low humidity. You could also paint and leave them outside to dry if you don’t have proper indoor ventilation.
Once the paint was dry, I mixed up my two-part epoxy glue and re-attached each cap. As mentioned earlier, you could use other types of glue, whatever your preference is. I like the epoxy because it has a really strong bond with most any material.

So pretty, and so very easy!

I haven’t yet decided what I’ll do with them, but I’m sure they’ll make a nice accent to my other Fall decor.
Happy Crafting!
